Today I am sharing a totally non food post about my DIY planner. Also known as the item I am totally lost without.
I love online calendars like google calendar for keeping my schedule, my family’s doctors appointments, my husband’s schedule, and my kids schedules altogether. It is easy for anyone of us to see what everyone else in the family has going on. But I think part of me will always prefer paper for the majority of my planning.
I like to write stuff down. I prefer pencil and paper. I have tried going all digital with my planner and it just didn’t work.
I am not saying I will never switch to an all digital calendar and planner, but for now paper works for me and I am sticking to it.
This planner really is with me almost all the time. If it is not with me it is sitting on my desk next to my computer. I am lost without my planner and my lists.
I have been making my own planner for years. I first got the idea from my friend Jessica of Life As Mom who has written several posts of DIY planners. Once she told me what she did to make her own I knew I had to give it a try.
Six years later I am still making my own planner. That is how much I love it.
And yes I keep all my old planners because some of those planners have important information like homeschooling stuff in them. I won’t keep them forever, but I feel better knowing I have them if I ever need to look back at anything.
Normally I make my planner at the end of the year, but the planner I put together for this year just wasn’t working for me so I decided it was time to redo it.
I was sharing with my sister what I did and she loved the idea. In fact, she got right to work putting her own together. I realized that some of you might be as interested as my sister in what my planner looked like, so I decided to put together a post on what I do.
Now I can’t take all the credit for my planner. Like I mentioned above Jessica is the reason I started making my own.
I have been asked many times how I do all I do. My response is I don’t. Have you seen my kitchen or my laundry pile recently? They are proof that I am not on top of everything.
Things definitely fall through the cracks often, but what I do get done, I credit to being organized with my time. Or at least trying to be organized with my time.
I need plans, schedules, and to do lists. I feel out of sorts when I don’t have a plan or a schedule. To do lists keep me on track. I get way more done when I plan and keep track of what and when I have to do things.
The problem has always been though that I could not find a planner that I liked. So many of the planners were full of pages that I did not need or would not use. Other planners were just not designed the way that worked best for me. Designing my own allows me to have a planner just for me with just the pages I need.
Every year my planner is a little different. For several years, I included homeschool, website stuff, household stuff, and work for my husband’s office all in one. Other years I made two separate ones. One for homeschool and one for everything else. But each year it was custom made for what I needed that year and I love being able to do that.
When it comes to pages for my planner it has also really varied what I use. I usually start with some basic pages. Jessica now sells basic planning pages and they are a great base. Her package includes calendars, menu planning pages, a detailed time budget page, to do lists, goal pages, and more. It is a great package to start with and you can easily add more pages to it to fit your needs.
If you want something easy. Jessica has a great Print & Go Planner. (Affiliate link)
You can also find a lot of pages online simply by searching. I included some links to pages I like at the end of the post. Quite a few of the printables I link to are free.
This year I am keeping my planner pretty basic. The last one I put together had too many pages. It ended up being a little too complicated. I needed to go back to a simple planner.
One of the things I did this year, that I had never done before, was to print the pages on the front and back. I am not sure why I had never done this before, but it made my planner much thinner and I love that about it.
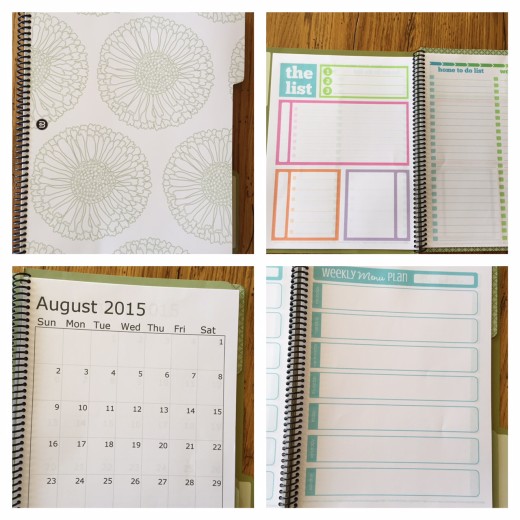
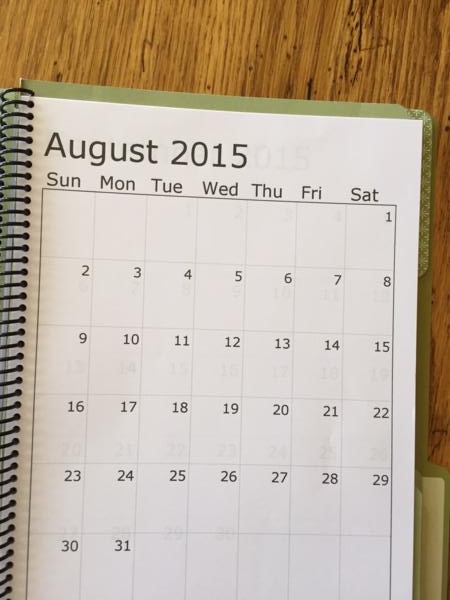
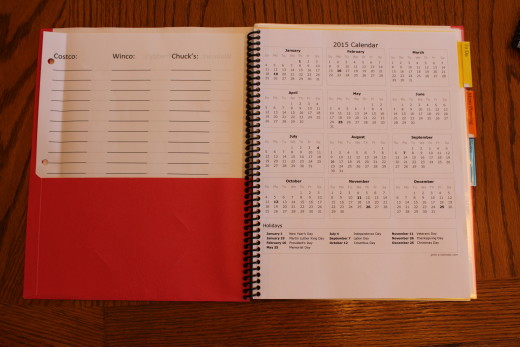
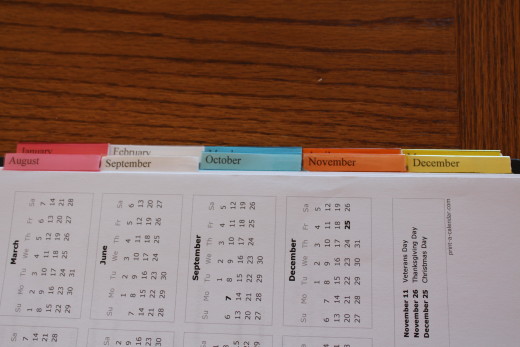
I put in basic calendar pages for the year. One of the sections of calendar pages is where I do my website planner. I can quickly write down notes about what posts I plan to do when. It really helps me schedule things out ahead when it comes to my site.
These calendar pages work well for household stuff too. I can easily write down things around the house that I need to do later in the month, next month, or even several months out.
One of the things that I have realized over the years is that I like color when it comes to my planner. If you walked into my house or looked at the clothes in my closest you would find a lot of neutral colors, but for some reason when it comes to my planner I like color.
It makes me happy to look at a colorful planner. I think it also helps me stay more organized. Different colors can be assigned different things and it is easier for me to organize it all.
This year my planner is colorful with very little black and white.
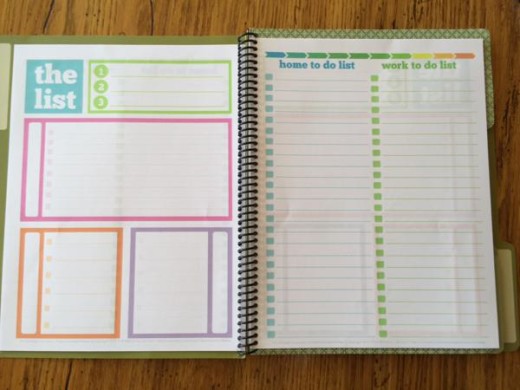
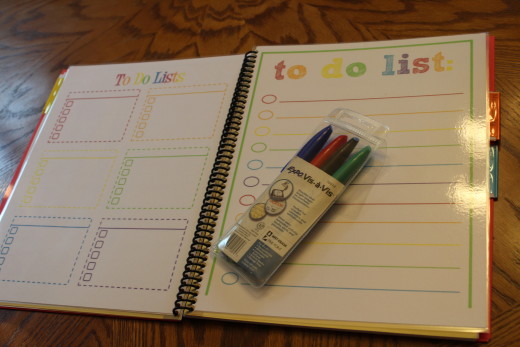
In my planner I have two different to do lists. I know this seems like a lot, but I like to keep my to do lists separate. I like to have one that is weekly and one that is daily.
I also like to keep different lists for home and work. Yes, this gives me several to do lists, but I like seeing them all separate. It works for me and the reason I love making my own planner is that I can make it work for me.
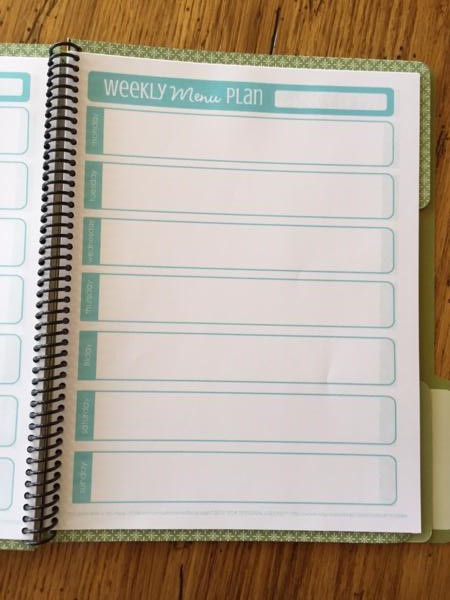
I have menu planning pages. Again I like color on my pages which is why I choose these menu pages this year.
I also like to include project pages. I use these for website projects, but they can also be used for home projects. I have found that writing it down really keeps me on track for finishing up the project.
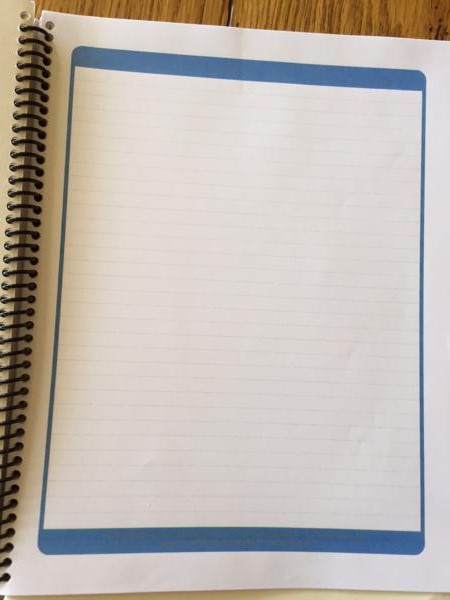
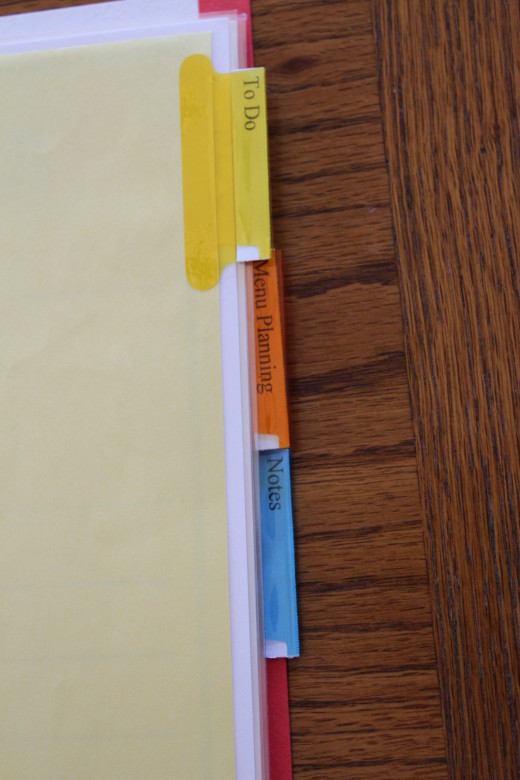
I also include a section of just blank pages. I like these for making notes, writing down thoughts, and whatever else I might need to make a list for. `
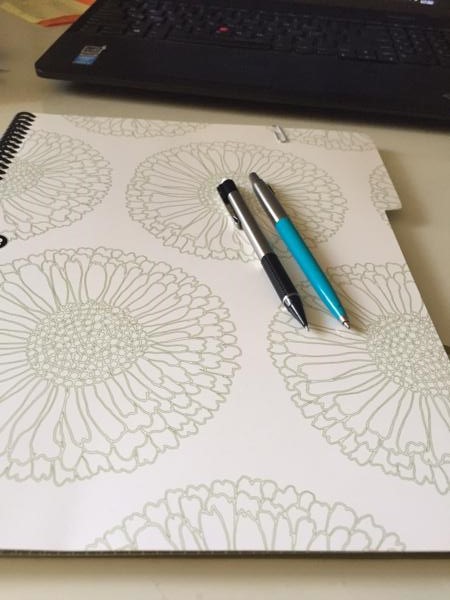
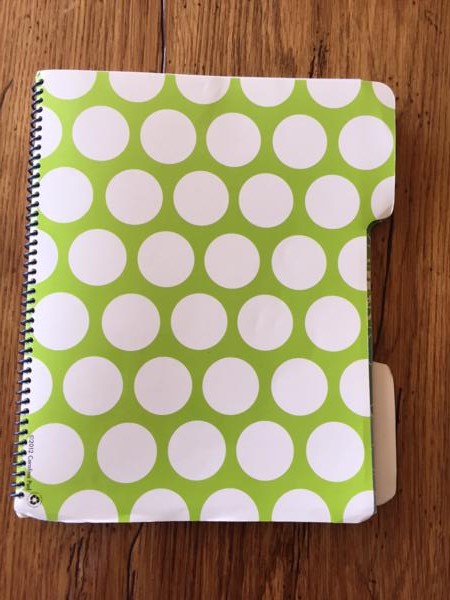
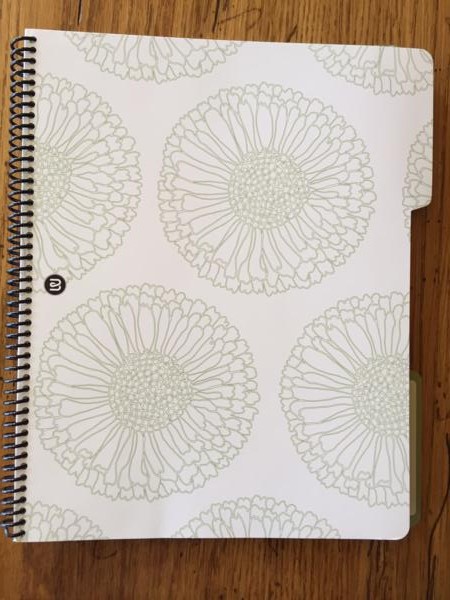
I have used various things for the front, back, and dividers in my planners. This year’s front and back are actually a file folder that is a heavy duty laminated one that I cut in half.
I used one half for the front cover and one half for the back cover. I like that fact that it is a cute and colorful design and that it is heavy duty enough to hold up.
For the dividers inside I usually cut up file folders or use basic dividers like you would in a three ring binder. Either one works well for dividing the sections.
Once I have all my sections together I take it into an office supply store like Office Depot or to the UPS or Fed Ex store and have it spiral bound. It usually only costs a few dollars to have your book bound.
You may be wondering why I don’t just use a three ring binder. I find them bulky to carry around. I also like to be able to fold the planner back on itself so that it doesn’t have to be completely open all the time. Spiral binding lets me do that.
I was recently talking to my sister about making my own planner and she instantly loved the idea. She is a former school teacher turned stay at home mom of three kids. She loves to be organized, but three kids have thrown her organization a little off. She was ready to get back on track, especially when it comes to homeschooling her kids.
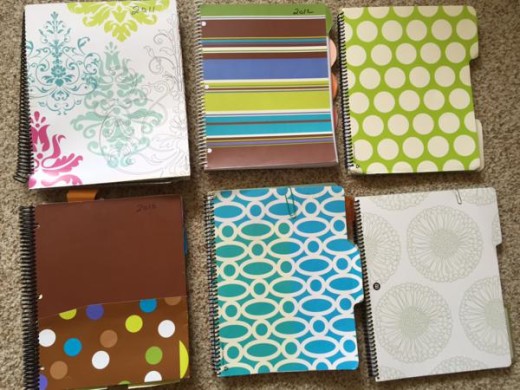
She put together her own planner and sent me some pictures that I thought I would share.
First of all she took the basic idea of a to do list and took it to the next level. Instead of printing out a bunch of weekly or daily to do lists to put in her planner, she printed out a couple and laminated them! I love this idea and will probably be using it in my next planner. A reusable to do list is a great idea!
She also used folders with pockets for her front and back covers. I have done this in the past and worked great for extra papers like grocery lists, etc.
My sister also made two planners. One for household stuff and one for homeschooling stuff.
I used to do the same thing. For several years two planners is what worked for me.
This is why I love making my own. You can change it up and make it work for you differently every year.
I know this was a long post, with a lot of pictures, but I hope it helps some of you.
Some of you may be thinking that I am crazy for putting together a planner like this. I get that. Many of you are fly by the seat of your pants type Z, as my friend Jen calls it, people.
However, if you are like me and have a bit of a type A need to be organized personality, you will probably get why I love having my own planner.
If you have any questions about my planner feel free to leave a comment and I will try to answer them.
List of my favorite sources for planning pages.
I have been able to find many pages free. Most sites below offer a mix of free and for sale pages. You can also google free prinables and check Pinterest for more ideas.
- http://print-a-calendar.com/
- http://organizedhome.com/ Has a lot of printables and pages.
- This is the monthly meal planning page I have used from Organized Home. http://organizedhome.com/
printable/household-notebook/ month-meals - http://www.cleanmama.net Also has a lot of pages.
- These are the to do lists I used. I love how colorful they are. A colorful to do list makes me a little happier to look at. http://www.cleanmama.net/2013/
01/3-free-printable-to-do- lists-to-jumpstart-your- productivity.html -
Money Saving Mom also has quite a few printables that I have used in the past. http://moneysavingmom.com/
downloads/all-free-downloads -
The Print & Go Planner ( Affiliate link) This includes a lot of basic pages that you can easily print out and put together into a planner. Jessica also offers some free pages for DIY planners.

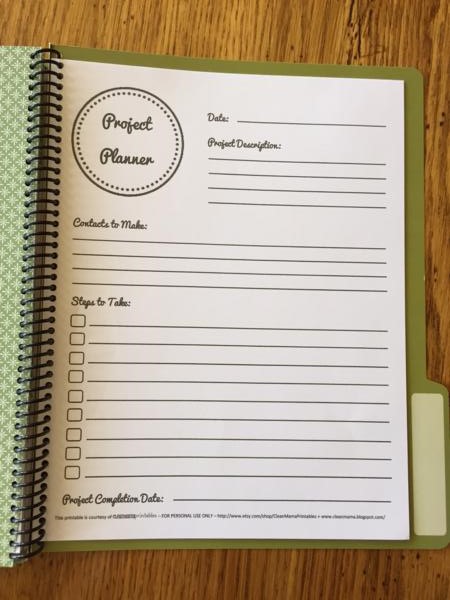
Love this! I’m particularly interested in the Project Planner page. It is totally something I need for work. Did you create it or is it from a specific website?
This is a page with all kinds of printables. If you scroll towards the bottom of the page there is a link to the project planner page and it is free. I hope that helps. https://www.cleanmama.net/free-printables
Great ideas. I am thinking about going back to some paper planning because there are times when digital takes longer (Gasp! Did I just admit that?) If only there was a way to make my paper planning sync with my digital.
Wouldn’t it be nice if we could sync our paper planner and digital planner!! Who knows with the way technology is going we might be able to do that someday. It sure would be nice. And yes I agree for me digital sometimes takes longer. I just find pencil and paper easy to quickly write stuff down in.
i almost made a planner this year, but ended up just buying one online. for the past year i’ve tried to just use google calendars and paper to-do lists but it wasn’t working for me anymore. i hope i like the new planner i bought (i hear you on the random extra pages in traditional planners), but i if i don’t i will be making one next year. i’ll just have to plan ahead (ha) to make sure i have time before school starts.
I loved this post!! I love your website, but this was so helpful! Thanks for sharing.
I am glad you found it helpful! Finding a planner that worked for me has made keeping organized so much easier. I hope it helps you too!!
I’ve made planners in the past and really enjoyed using them! This year I decided to try a “bullet journal” (you can google it) and I’ve found it *really* works for me. I use those marbled hardback notebooks (that seem to be super cheap everywhere right now for back-to-school).
I am also a pencil and paper kind of girl. Thanks for including the links for the printable pages!
I’ve tried everything to try and use my phone/pc as a planner and like you, I’ve returned to paper. When I’ve devised my own planner, I found that by trying to cover every single base, they got too complicated, too unwieldy, just TOO. I found a simple planner called The Time Keeper that works well.
I think the trick to making a planner work is finding one that works for you. So I am glad you found one that works for you! I have never heard of The Time Keeper and will have to look at it.